VMS Administrator
Console
The VMS admin console offers a convenient way for administrators to manage visitor records, without the need for a full-featured software interface. The simple, tablet-based interface makes it easy to perform common tasks and ensures that the visitor management system remains up-to-date and accurate at all times.
Main Screen

On the main screen, visitors are displayed in a table sorted by their validity date. The columns in this table can be customized, but by default, they include Photo, Name, Cardcode, Valid, Status, Group, Visitor Signature, Badge, and Delete. If you would like to change the layout of the admin console, please contact support at Support@Sensoraccess.co.uk.
To add a new visitor, click the "Add New Visitor" button. This will bring up a window that is divided into four sections: New Visitor Details, Admittance Date Time, Access Group, and Badge Code.
The "New Visitor Details" section includes fields for the visitor's photo, first name (compulsory), last name (compulsory), email, company, ID document, document number, company, host, and purpose of visit.

In the "Admittance Date Time" section, you can enter the valid from and valid to dates for the visitor's access card or QR code.

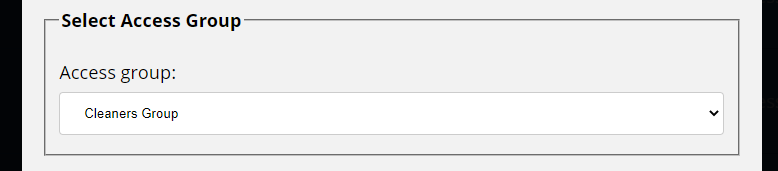
The "Access Group" section is a drop-down menu that allows you to select the appropriate access group from the GP10 software. If you want to filter which access groups are displayed, please contact support at Support@Sensoraccess.co.uk.
Finally, in the "Badge Code" section, you can enter the card or key tag number if applicable. If not, leave the number as 00000000 and a random card number will be generated

Clicking the badge button on the visitor row in the main screen will show a generated card displaying the QR code which represents the card number of the visitor.
This can be emailed or printed.

The email settings are set in the config.ini
[SMTP]
provider = sendgrid
username = apiKey
password =
server = smtp.sendgrid.net
port = 587
Was this article helpful?
That’s Great!
Thank you for your feedback
Sorry! We couldn't be helpful
Thank you for your feedback
Feedback sent
We appreciate your effort and will try to fix the article